Contents
If you’re struggling to find exactly what you’re looking for, you want to save a bit of money or you’re desperate for a new project, then upcycling an old dressing table could be for you. You will save lots of money and have plenty of fun in the process. So, before buying something new, look for an old piece of furniture that will have more character than anything you can buy in the shops and get started!
Find A Dressing Table
For those of you who don’t already have an old dressing table to upcycle, it’s time to find one! Contact friends and family, search online or try flea markets to find a dressing table that is full of character and has lots of potential. Shop around to find what you’re looking for and you will save so much money in the long run.
Make Any Repairs
Now that you have your dressing table, it’s time to start the upcycle! Pre-loved pieces of furniture are likely to have been around for a little while, so might need some TLC. It’s best to repair any broken or damaged bits before starting the rest of the upcycle. You may need to use wood filler to help get rid of any large scratches or dents that won’t be removed with sanding. Maybe you need to fix a stuck drawer or a broken leg, too. Once you have painted your table, you won’t want to have to be worrying about these things, so making any repairs at the beginning is the best way forward.
Clean With Sugar Soap
Once you’ve repaired any broken bits, it’s time to start cleaning. The first step is to remove any metal handles as they will be cleaned separately, then get out the sugar soap. Sugar soap is a cleaning product that prepares surfaces for repainting, as it gently washes any unwanted chemicals from the top layer of your furniture. With any cloth or sponge, clean the entire dressing table with the sugar soap and wipe afterwards with warm water. It is non-abrasive so won’t damage the dressing table, but it gets furniture in the best possible condition to give you a smooth finish once it is painted.
Bring Handles Back To Life
If the metal handles are dirty, grimey or generally very dirty, you’ll need to give them a good soak in equal parts of tomato ketchup and vinegar. Yes, this sounds really strange, but the acidic content of the two products helps to dissolve any grime. Leave to soak for a few hours before cleaning well (very well) and you’ll have brand new looking handles. For those of you with handles beyond repair, invest in some new ones that will bring the dressing table to life even more!
Sand It Down
Next, get some medium-grit sandpaper and go over the entire piece of furniture. It’s so important not to leave any lumps or bumps as they will be even more obvious when painted. Try to get things looking as even as possible all over, but it definitely won’t look perfect at this stage. Take a wet cloth to wipe away all the dust and leave to dry properly before moving on to the next stage.
Apply Primer
Whilst this stage isn’t essential as some paints have primer built in, applying a separate primer will ensure you have a nice smooth surface before painting, that the paint will stick to really well. Primer also helps to keep the paint intact for longer, meaning you won’t need to do another upcycle for a good few decades!
Firstly, put a sheet or newspaper underneath your dressing table in case things get messy. Take a small brush to get into any fiddly areas and use a larger brush for the open areas. Don’t expect a perfect coat the first time, as this is only a base for when you start applying the top layers of paint. Just take your time and evenly cover the entire dressing table. Once you’ve finished, leave it to dry according to the instructions on the paint and once dry, gently sand down any drip marks or lumpy bits and wipe away all the dust.
Time To Paint!
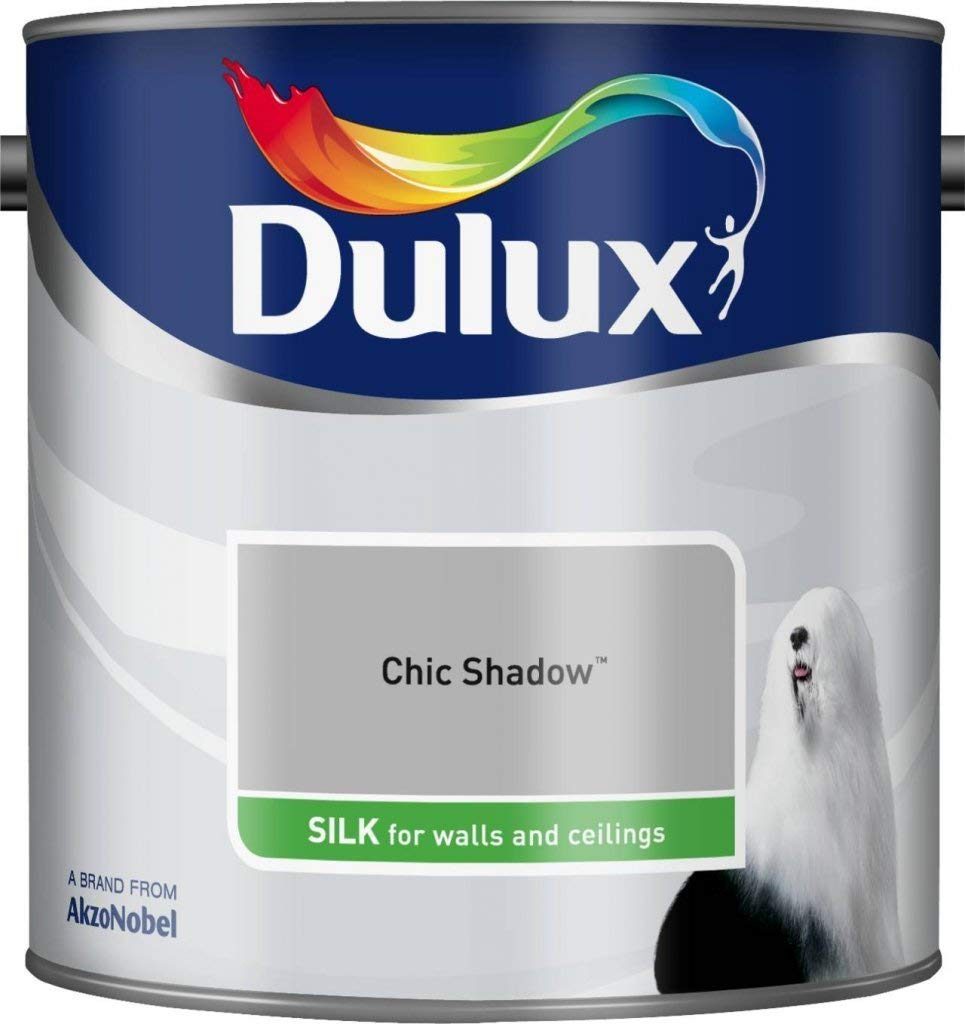
Once your primer has completely dried, it’s time to start painting. Now, when it comes to choosing a colour, your options are endless. In another post we written it included Dulux chic shadow silk & Dulux goose down paint which has been in trend for a couple of years now and still looks great. You could go for a simple white, a sleek black or add a pop of colour with pastel pink, sage green or teal blue. The darker you go, the more coats you might need, but you shouldn’t need any more than 3, especially with the primer.
Follow the same steps as with the primer, using the smaller brush for areas that are intricate and a bigger brush for the larger surfaces. Take your time and gradually work your way around the dressing table. Again, the first coat won’t be perfect, but you will notice such a big difference after the second coat. No matter how many coats it needs, repeat the same process. It is so important that you leave enough time for the paint to dry properly in between coats, or you risk ending up with bobbly and lumpy areas of paint.
Try using a colour that contrasts the rest of the dressing table on the drawers or on the top. If you’re feeling brave, why not try using stencils to create something completely unique? This is your chance to be creative, so find some inspiration and go wild. Reattach your handles or fit your new ones, and you’ve got your brand new dressing table!
Check Dulux chic shadow paint here
Check Dulux goose down paint here
Summary
So, there you have it! A brand new piece focal point for your room that everyone will think is from a designer furniture shop. Taking some time and care to renovate an old piece of furniture into exactly what you were looking for is not only cost effective, but extremely environmentally friendly. Prepared to feel proud every time you enter the room when you look at your new dressing table.


