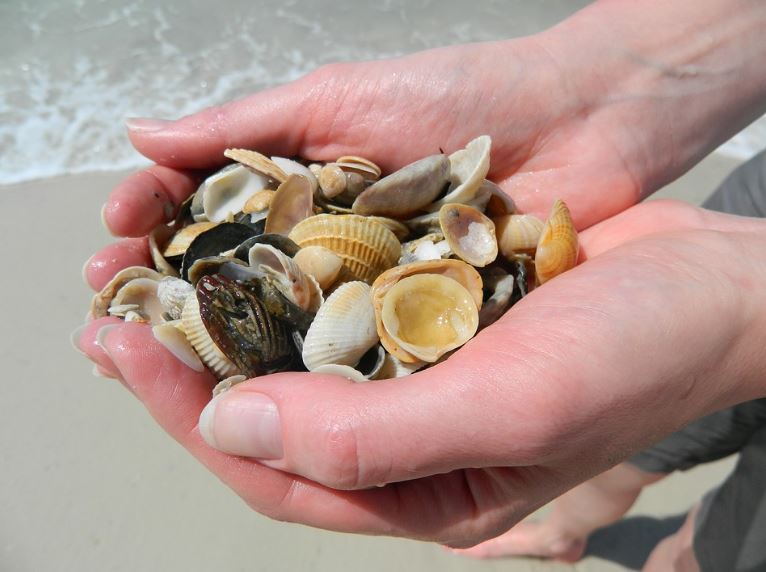
When you think of home improvements, you would most probably think about them costing you a dime or two. Well it doesn’t have to be that way, all it takes is getting your hands dirty, some elbow grease and our help to improve your home in a number of ways by using the seashells from your favourite beach.
You’ve most probably collected shells before with your little one, perhaps for one of their own art projects or easy shell crafts they can do at home. But we bet you’ve never collected them to improve your home. There are plenty of ways you can use shells to add attention to detail in a bathroom or dining area, keeping you up to date with the latest home decorating trends 2019.
Here are just some of the things you can do with them.
But before we get into that, you’ll want to know how to properly clean your shells so you can get a spotless look which will match perfectly with the rest of the home…
How to Clean Shells from the Beach
There’s actually quite the debate always going on about how to clean seashells from the beach, do you use baking soda? Regular fresh water? How about the water the shell was found in?
There are many different opinions across the web, here is ours;
MURIATIC ACID, shells will finally have their natural colour back and you’ll see a more beautiful side to them!
But don’t worry, muriatic acid for those of you who don’t know is just another word for hydrochloric acid. Which can be found in many household products such as toilet bowl cleaner and tile cleaner. This exact acid can be used to clean your shells.
Here is a safe solution for you and your shells and how to get them clean;
- ¼ cup of muriatic acid and ¾ cups of water.
- Dip for a maximum of 3 seconds and neutralize in fresh water straight after.
- Avoid contact with skin and stainless steel
If you want to see the process of cleaning shells from the beach and you want to be mesmerized by the dirty to clean to shells, check out the how to bring back color to seashells tutorial.
How to make Seashells shine
It’s one thing cleaning your shells and making them look like they would in the sea, but it’s another thing completely to have them featuring their natural shine. With some mineral oil, you’re going to want to rub over the shell to give it a deep clean, it does 2 things:
- It restores the natural shine of the shell
- It preserves the shell
How to keep Seashells shiny
Finally you’ve got that shine back, but how do you go about keeping that beautiful shine so that after you’ve created your masterpiece, you can be happy knowing nothing is going to ruin ti design?
You can spray satin-finish polyurethane or coat with clear nail polish. Although this may be a lengthy process for each shell you have, you’ll be able to reverse the shells organic shiny look and give it an even extra glossy shine.
Decorating with Seashells in a Bathroom
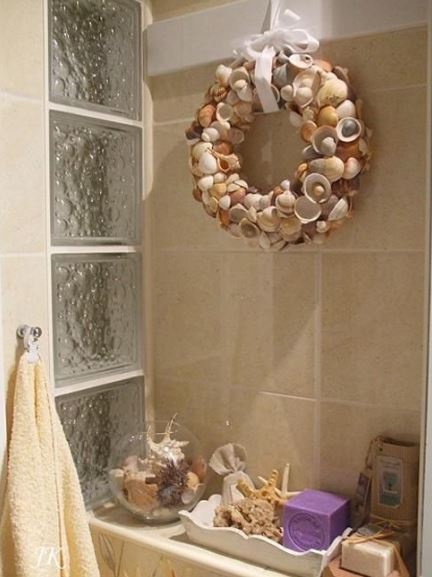
Just like using old storage pallets to create your very own DIY furiture, there are plenty of ways you can use seashells to bring out a natural vibe in your home, especially in the area of your bathroom where these shells will fit the most.
Here are some end results, from the people who are already using this cost efficient way of bringing stylish design to their homes.
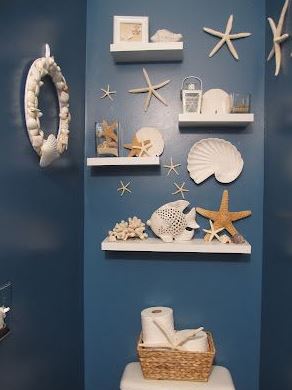
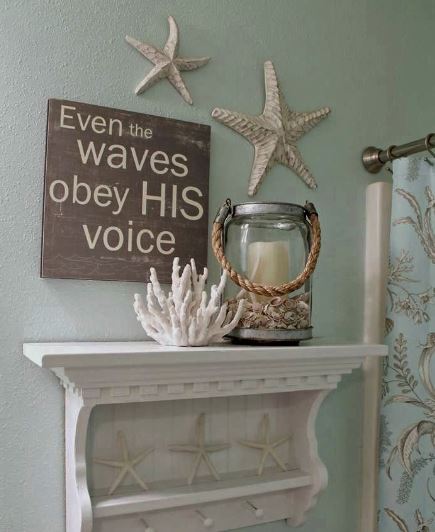
Seashell Display Jars
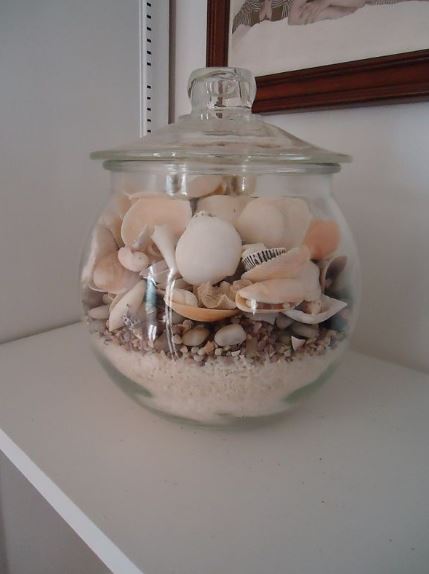
You’ve probably seen plenty of these from the image above, seashell display jars are one of the most common and probably the most stylish way of bringing the beautiful gems of the ocean into your home. Without compromising on the design of your home.
The best part about beach in a jar is that there is no limitation to what you can do and no two jars look the same so this way you can have something unique that only you own.
Jars with sand and shells are not limited to a bathroom, although we think they do look the best in there, these wonderful creations can also work to work with their environment, making them great in kitchens and lounge areas that feature ocean colours.
Now, we bet you’re excited to go ahead with going to your local beach, picking out some decorative shells and making your own sand and shells in glass jars. But we also know you’re probably wondering how the hell you go about gluing your shells to glass? Or how you even managed to get the sand to stick without it looking complete without purpose?
Read on to get some pro tips on how you can achieve your seashell in a jar dreams.
How to Glue Shells to Glass
Less is always more, as they say. Applying glue to shells is no different, there are many different techniques and practices for going about this. You’ll need some form of hot glue, typically that will from one of the craft glue guns from your local craft store.
Once acquired, you’ll want to squeeze a sizeable amount of glue on the outside of the glass, then you’ll want to take your best looking seashell and press down firmly on the glue. Hold for a minimum of 60 seconds to ensure the glue can harden around your shell. Repeat this process till you’re happy with your final design.
How to Glue Sand in a Jar
It’s important you get the consistency right, with to much glue you’re going to look you made this with a blindfold on, alternatively with not enough glue your sand won’t stick to the glass and you won’t get the desired effect.
To get the desired look, you’re going to want to follow our golden rule:
For every 1 cup of sand, you’ll want to have 1 cup of glue.
Doing this, you should get a thick mixture, with a little mixing you’ll be ready to add your gooey sand to the surface of your jar, spread out evenly for a balanced finish.
Other creative uses for seashells in your home
Beyond the basics of using shells and sand to make glass shell jars, there are other creative uses for seashells that you can use within your home, outside of the bathroom area.
As a side note, seashell crafts for adults is fun but it’s even more enjoyable once you get your kids involved. Allowing them to help you create something that is going to be a cherished part of your home for potentially many years.
Seashell Display Case
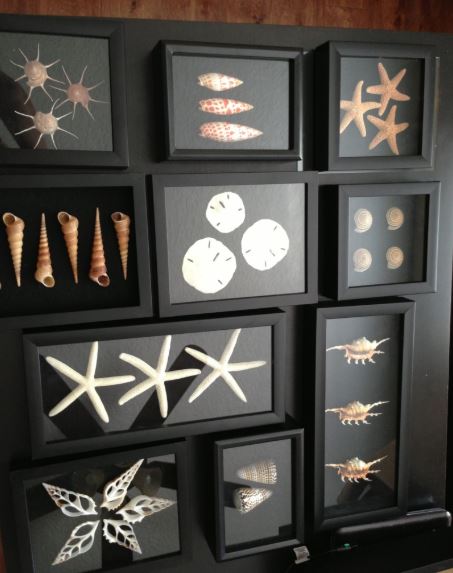
For collectors out there, this is one of the ways you can proudly put your favourite seashells on display.
These seashells were probably left over from your glass jar projet, you’ve probably thought to yourself ‘these are just too beautiful to use’ and instead just threw them in a draw never to be seen again.
Making something out of them and putting them on display gets you the best of both worlds. You can admire a natural resource whilst adding a personal touch to your home, wherever you choose to feature your brand new display case.
There are many ways you can come up with to add shells to a display case, one of them would be to use a wooden, sort of like a larger display cause would be used from and assigning compartments for your favourite seashells. Maybe in order of size, type, or even colour.
We have yet to cover how you’re going to manage to add shells to the display cabinet, so here’s how to glue shells to wood.
How to Glue Shells to Wood
Just like glueing to glass, you’re going to want to get a hot glue gun from your local craft store, so that the shells you attach will stay attached. However it is advised that you clean your wood before hand as dust and other particles can be visible even after the job has been completed, mostly this goes unnoticed with glass surfaces.
Seashell Shadow box
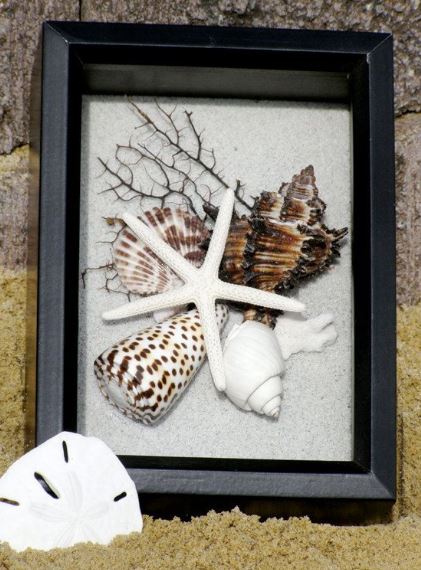
Similar to display cases, using a shadow box to display your shells will offer you another way of bringing in the natural design. However, these should be used as an alternative if you truly take pride in the design of your home, and you’re looking for a way to add shells that won’t compromise the general design.
This is because, unlike display cabinet, shadow boxes feature a more organized finish making them ideal for people who like to have a modern home looks like each decor piece was placed with purpose.
Shell Shower Curtains
You’ll most probably see some form of shell shower curtains in your home, but I bet they are all printed designs and not the real thing. Well why not use the real thing and create some fabulous curtains from them?
Whether you start off with a blank curtain or you use a shell design that is going to compliment the actual shells which you’re going to feature. However you choose to go about this fun craft, make sure to glue everything down properly and have some fun with it.
Seashell Animal Crafts
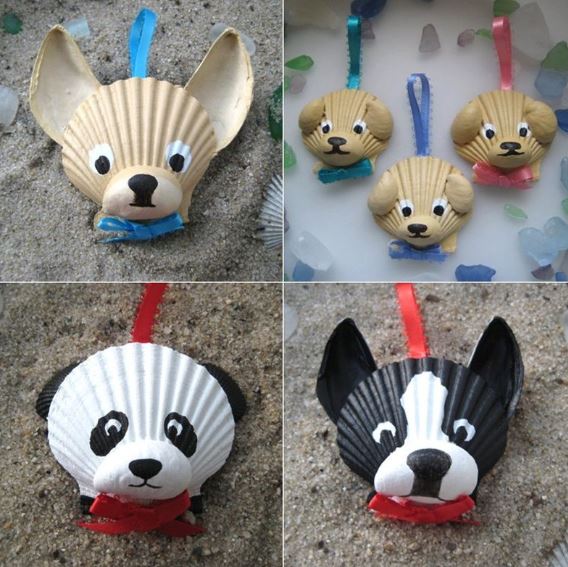
With seashell crafts, with usually think about larger designs, whether that’s shell curtains or seashell jars. But what about little dinky ornaments that can fit on any tableside in your home that can bring you some unique style that has been made from seashells?
These little dicnky ornemants are seashell animals, whether you’re a lover of foxes, ladybirds or any other animal in existence, we are sure you can achieve the design with a couple of sea shells, some paint and a great deal of imagination.
How to make Seashell Animals
Now, this would depend on what sort of animal you’re looking to create. Thankfully we live in the age or internet so having resources for this information won’t be too hard to find, however we want to give you a head start, here are some tools you’re going to need if you want to create one of these beautiful pieces for yourself.
- Hot glue gun
- Some of your favourite paint and paint brushes.
- And a creative mind
If you’re unsure what to create, perhaps you don’t have a favourite animal or you’re just looking for a unique idea, here is over 100 seashell animal crafts to inspire you.
Broken Seashell Crafts
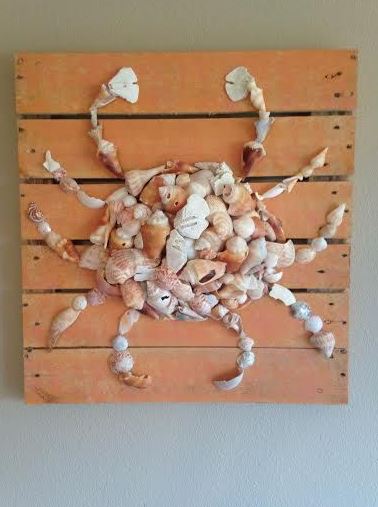
When we’re looking for seashells, we usually look for the most pretty and eye catching ones, I mean that’s just the way we are naturally as humans to seek out the most beautiful thing as possible.
But that means we waste materials that could add to our home, such as broken seashells.
Broken seashell crafts are unique in the sense that they take something that seems to be at the end of its life time, soon to be washed away or thrown away and turn it into something that is elegant yet charming and a piece that could become a great addition to a bathroom, lounge or bedroom area in a home.
